
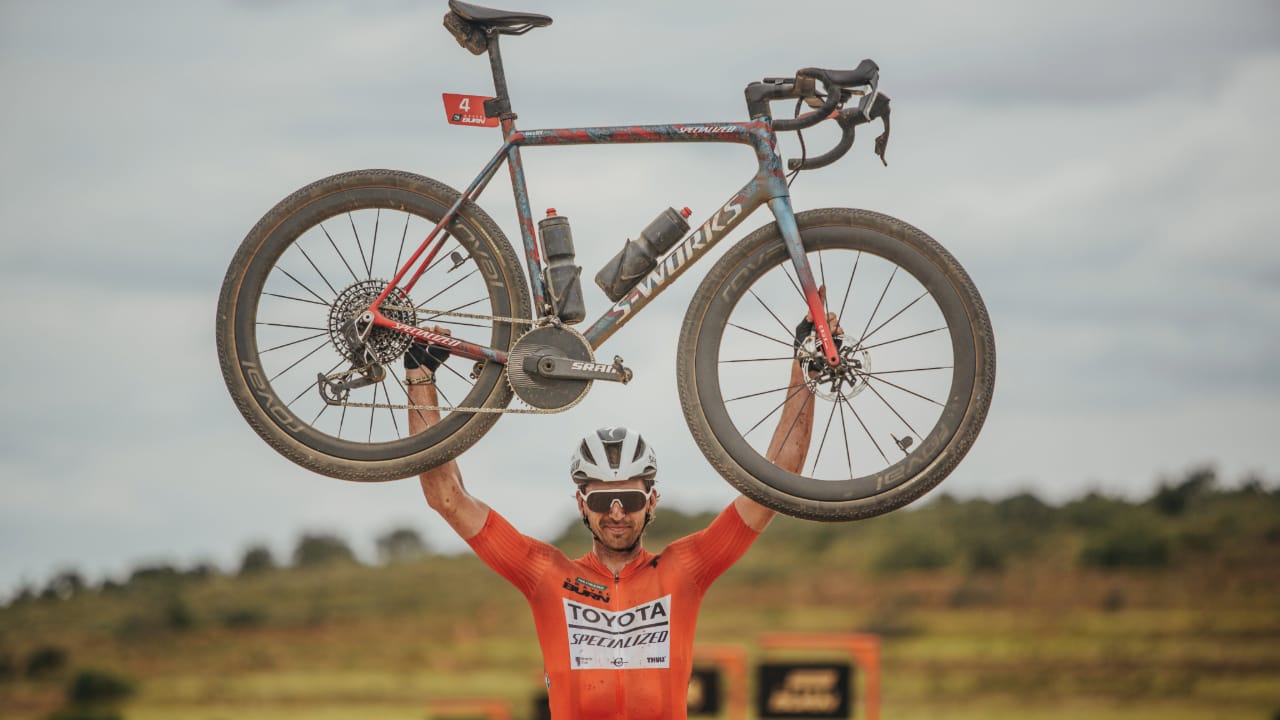


After reassembling your bike, check that the wheels, brakes, handlebars, pedals, drivetrain, and other components are correctly installed and secure. Every fastener you loosened or removed should be inspected, and safety critical bolts must be tightened to the manufacturer’s specified torque. Cyclists often disassemble their bikes for travel, maintenance, or storage. Removing wheels, handlebars, pedals, or seatposts makes transportation easier, but incorrect reassembly can create mechanical problems that are not immediately obvious. A loose wheel, incorrectly positioned handlebar, or poorly connected brake can affect bike control. Even a small assembly mistake may become dangerous during braking, cornering, or descending. A thorough inspection takes relatively little time compared with the consequences of a mechanical failure. By following a consistent checklist and testing the bike before a longer ride, cyclists can identify potential problems and correct them safely.
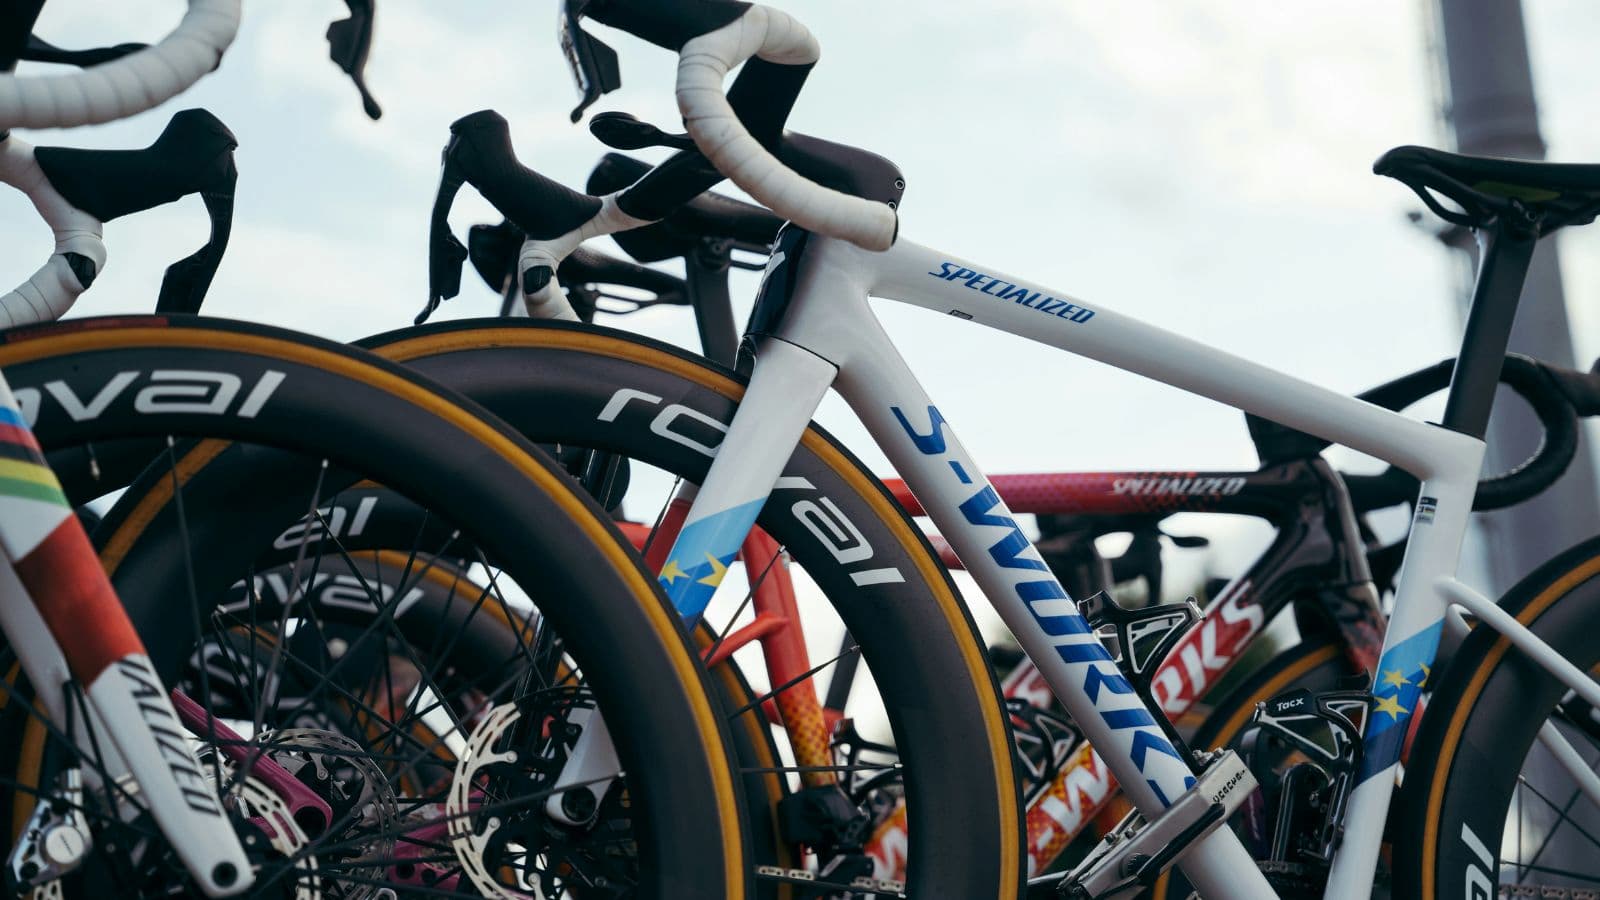
In Short
- Confirm both wheels are securely installed.
- Check brake operation and alignment.
- Inspect handlebars and stem bolts.
- Verify pedal installation.
- Check saddle and seatpost security.
- Test gear shifting.
- Inspect tires and inflation pressure.
- Use correct torque settings.
- Complete a controlled test ride.
Check Wheel Installation
Wheel security should be one of the first checks after reassembly. An incorrectly installed wheel can affect steering, braking, and overall stability.
Inspect the following:
- Wheel axles are fully seated.
- Quick release levers are correctly closed.
- Thru-axles are tightened to specification.
- Wheels rotate freely.
- Tires do not contact the frame or fork.
For disc brake bikes, make sure the rotor sits correctly between the brake pads. Understanding what you should check on your bike before every ride can help cyclists develop a reliable inspection routine. Never ride if a wheel appears loose or incorrectly positioned.
Inspect Brake Operation
Brakes are essential safety components and must function correctly before riding. Check both brake levers separately while the bike is stationary.
Confirm that:
- Each brake engages properly.
- Levers feel firm and consistent.
- Brake pads contact the correct braking surface.
- Disc rotors do not rub excessively.
- Brake hoses and cables are undamaged.
If a hydraulic brake lever pulls unusually close to the handlebar or feels spongy, investigate the problem before riding. Understanding how to descend faster and safer on a road bike for beginners reinforces why dependable braking is particularly important on downhill roads. If brake components were disconnected or hydraulic lines opened, professional inspection may be necessary.
Check Handlebars and Stem Alignment
Handlebars and stems are commonly loosened or removed when packing a bike. Incorrect installation can affect steering control. Stand in front of the bike and confirm that the handlebars align with the front wheel.
Then inspect:
- Stem bolts.
- Handlebar clamp bolts.
- Brake lever positioning.
- Headset adjustment.
- Handlebar rotation.
Use a torque wrench and follow the component manufacturer’s tightening sequence. For carbon handlebars or steerer tubes, incorrect torque can damage components. Understanding what are stack and reach in cycling bike fit can help cyclists appreciate why returning the handlebars to their previous position matters for comfort and control.
Verify Pedal Installation
Pedals must be installed on the correct sides. The right pedal normally uses a standard right-hand thread, while the left pedal uses a left-hand thread.
Check that:
- Each pedal is on the correct crank.
- Threads are engaged correctly.
- Pedals are tightened to specification.
- Pedals rotate normally.
- Clipless mechanisms function correctly.
Avoid forcing a pedal that does not thread smoothly. Cross-threading can damage the crank arm and require expensive repairs.
Inspect Saddle and Seatpost Security
Seatposts are often lowered or removed during transportation. After reinstalling the seatpost, confirm that the saddle is at the correct height and securely clamped.
Check:
- Saddle height.
- Saddle angle.
- Seatpost insertion depth.
- Seatpost clamp torque.
- Saddle rail security.
Understanding how to prevent your knees from hurting during long cycling can help cyclists recognize why incorrect saddle positioning may affect pedaling comfort. Respect the minimum insertion marking and any frame specific requirements. For carbon components, use only the assembly products recommended by the manufacturer.
Test the Drivetrain and Gears
The drivetrain should operate smoothly before the bike returns to the road. Rotate the cranks while the rear wheel is safely supported. Shift through the available gears and listen for unusual sounds.
Check for:
- Smooth chain movement.
- Correct derailleur alignment.
- Excessive chain rubbing.
- Damaged or twisted chain links.
- Loose derailleur components.
- Incorrect chain routing.
Understanding common gear mistakes that every cyclist should avoid can help cyclists recognize how incorrect gear use and drivetrain problems affect riding. If the rear derailleur was removed for travel, verify its installation and alignment carefully. Do not ride if the derailleur appears bent or could contact the spokes.
Inspect the Chain
The chain may become displaced, twisted, or contaminated during transport. Inspect it before riding.
Look for:
- Correct routing through the derailleur.
- Secure quick links or connecting pins.
- Damaged links.
- Excessive dirt.
- Adequate lubrication.
Understanding how to clean and lube your bike chain the right way can help cyclists maintain smooth drivetrain operation after reassembly. If the chain was disconnected, confirm that the joining method is compatible with the chain and installed according to the manufacturer’s instructions.
Check Tires and Pressure
Tires may lose pressure during travel or storage. Before riding, inspect both tires for cuts, embedded debris, sidewall damage, and incorrect seating.
Confirm that:
- Tires are properly seated on the rims.
- Inflation pressure is appropriate.
- Valves are secure.
- Wheels rotate without unusual movement.
- There are no obvious air leaks.
Understanding how do i fix a puncture on a road bike can help cyclists prepare for tire problems that may appear during a test ride. Use pressure appropriate for the tire, rim, rider, and riding conditions without exceeding manufacturer limits.
Inspect Cables, Hoses, and Accessories
Reassembly can leave cables or hoses twisted, trapped, or incorrectly routed. Turn the handlebars slowly from side to side.
Make sure:
- Brake hoses do not stretch.
- Gear cables move freely.
- Electronic shifting wires are connected.
- Cables do not interfere with steering.
- Lights and accessories are secure.
Also inspect bottle cages, computers, pumps, and any other equipment removed during packing. Understanding how to ride safely in a cycling group highlights the importance of predictable steering and reliable bike control around other riders.
Complete a Final Safety Test
Before riding, perform a final inspection.
- Confirm wheel security.
- Check both brakes.
- Verify handlebar alignment.
- Inspect pedal installation.
- Check saddle security.
- Test gear shifting.
- Confirm tire pressure.
- Inspect all disturbed fasteners.
A short, controlled test ride in a traffic-free area can help identify remaining problems. Understanding how to improve cornering skills on a road bike for beginners can help cyclists appreciate why stable steering and predictable handling matter. Begin slowly, test braking, and listen for unusual noises. If anything feels loose, unstable, or incorrect, stop and investigate before continuing.
Common Mistakes
- Forgetting to tighten a thru-axle.
- Using incorrect bolt torque.
- Installing pedals on the wrong sides.
- Leaving handlebars misaligned.
- Ignoring brake rubbing.
- Forgetting seatpost insertion limits.
- Overlooking damaged cables.
- Skipping the test ride.
Practical Tips
- Photograph bike settings before disassembly.
- Keep small components organized.
- Use a calibrated torque wrench.
- Follow manufacturer instructions.
- Check every disturbed fastener.
- Inspect brakes before riding.
- Test shifting while stationary.
- Seek professional help when uncertain.
Actionable Takeaways
- Wheel and brake checks come first.
- Correct torque is essential.
- Inspect every reinstalled component.
- Test the bike before a longer ride.
- Never ignore unusual movement or noise.
FAQs
Start by confirming that both wheels are correctly installed and securely fastened, then inspect the brakes and steering components.
A torque wrench is strongly recommended for bolts with specified tightening values, especially on carbon components and safety critical assemblies.
The axle should be fully seated and secured according to manufacturer instructions, with the wheel rotating freely and the brake functioning normally.
Yes. Test both brakes while stationary and confirm that they engage correctly before beginning a controlled test ride.
Yes. Installing pedals on the wrong sides or forcing the threads can damage crank arms.
Possible causes include loose components, brake rubbing, incorrect drivetrain alignment, or poorly installed accessories.
Lubrication may be appropriate if the chain is dry or has been cleaned. Avoid applying unnecessary lubricant to an already properly maintained chain.
Stand in front of the bike and compare the handlebar and stem position with the front wheel, then verify that all relevant bolts are tightened correctly.